Ninja SLUSHi Chocolate Ice Cream Recipe

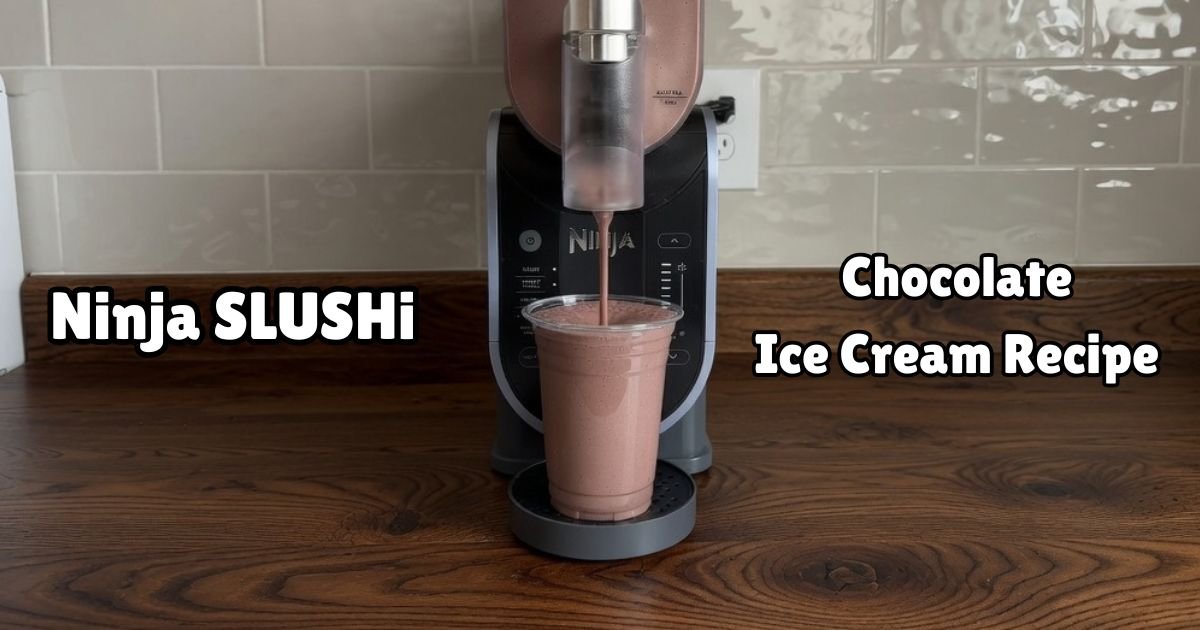
Chocolate ice cream is a favorite dessert for many chocolate lovers. I love the cold, creamy texture and sweet cocoa flavor in every spoonful.
Making homemade chocolate ice cream the old way can take time. It may need careful mixing and close attention as it freezes.
The Ninja SLUSHi makes the process much easier. I simply add my ingredients to the pitcher, choose the right program, and let the machine do the work.
This Ninja SLUSHi Chocolate Ice Cream Recipe uses simple ingredients to create a smooth and creamy frozen dessert with little effort.
Now, this is one of my favorite ways to enjoy a homemade chocolate treat. The result is a thick, creamy dessert with a sweet chocolate flavor.
I love how simple this recipe is to prepare, and it is a great choice for a quick homemade frozen treat.
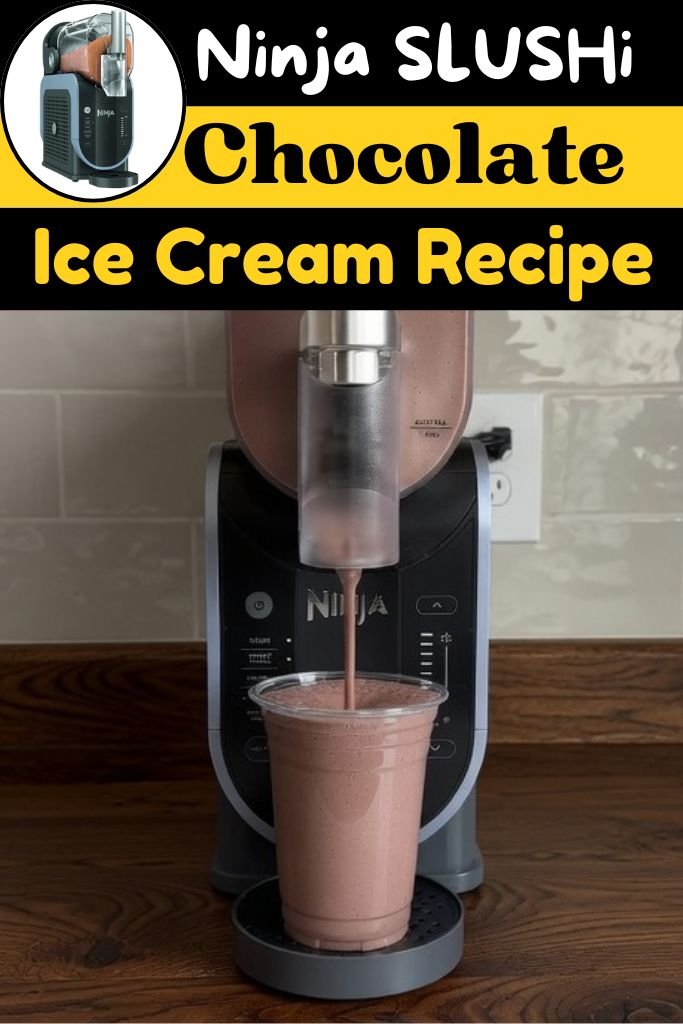
Why the Ninja SLUSHi Works So Well for Chocolate Ice Cream
The Ninja SLUSHi turns simple ingredients into smooth chocolate ice cream fast. It mixes and freezes at the same time, so you get a creamy texture without extra steps or constant attention.
- Fast Freezing – The Ninja SLUSHi cools and freezes your mix quickly, so you skip waiting for hours in a regular freezer. You get creamy chocolate ice cream in a short amount of time.
- No Blender Needed – There’s no need for a separate blender or ice cream maker. The Ninja SLUSHi mixes and freezes your ingredients together, saving you extra dishes and extra time in the kitchen.
- Simple to Use – This machine works with basic buttons and settings. You add your ingredients, pick a program, and let the Ninja SLUSHi handle the mixing and freezing for you from start to finish.
- Consistent Results – Each batch turns out smooth and creamy every single time. The Ninja SLUSHi keeps the texture even, so your chocolate ice cream never turns out icy or grainy.
- Easy to Customize – You can swap ingredients, add mix-ins, or change flavors easily. The Ninja SLUSHi lets you adjust this chocolate ice cream recipe to match your own taste and cravings.
- Great for Homemade Desserts – This machine makes it simple to create frozen treats at home without special skills. It’s a great tool for chocolate ice cream, milkshakes, and other cold, sweet desserts.
Ninja Slushi Chocolate Ice Cream Ingredients
- Whole Milk (2 cups) – Whole milk gives the ice cream a smooth and creamy base. Low-fat milk also works, but the texture may be a little less thick. For a dairy-free option, use oat milk or almond milk.
- Heavy Cream (1 cup) – Heavy cream makes the ice cream thick and creamy. For a lighter option, use half-and-half. Coconut cream is a good dairy-free swap and adds a light coconut flavor.
- Vanilla Extract (1 teaspoon) – Vanilla extract adds a warm flavor and helps balance the chocolate. You can use vanilla bean paste in the same amount.
- Granulated Sugar (2 tablespoons) – Sugar adds sweetness and balances the cocoa flavor. Brown sugar also works and adds a light caramel taste. Honey or maple syrup can replace the sugar, but the texture may change a little.
- Chocolate Syrup (¼ cup) – Chocolate syrup adds more chocolate flavor and sweetness. You can use melted chocolate chips instead. Let the melted chocolate cool before adding it to the mixture.
- Cocoa Powder (2 tablespoons) – Cocoa powder adds a deep chocolate flavor without adding extra liquid. Dutch-process cocoa powder also works and gives the ice cream a smooth chocolate taste.
Kitchen Equipment You’ll Need
- Ninja SLUSHi Machine – Main freezing machine.
- Measuring Cups – For liquid ingredients.
- Measuring Spoons – For small amounts.
- Large Mixing Bowl – For mixing ingredients.
- Whisk – Helps dissolve dry ingredients.
- Spatula – Scrapes the bowl clean.
- Serving Bowls or Glasses – For serving the chocolate ice cream.
- Ice Cream Scoop – Helpful for toppings.
How to Make Ninja Slushi Chocolate Ice Cream
Step 1 | Gather and Measure Ingredients
Measure 2 cups of whole milk, 1 cup of heavy cream, 1 teaspoon of vanilla extract, 2 tablespoons of granulated sugar, ¼ cup of chocolate syrup, and 2 tablespoons of cocoa powder.
Step 2 | Whisk the Ingredients
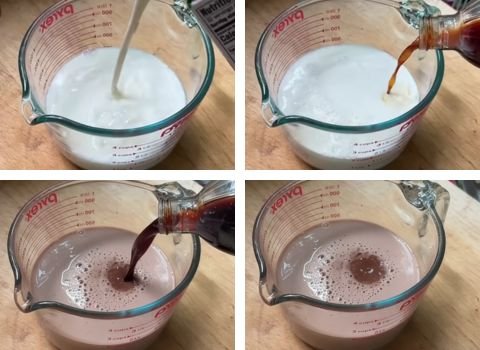
Add the whole milk, heavy cream, vanilla extract, sugar, chocolate syrup, and cocoa powder to a large mixing bowl.
Whisk until the sugar and cocoa powder dissolve completely. The mixture should be smooth with no lumps.
Step 3 | Pour Into the Machine
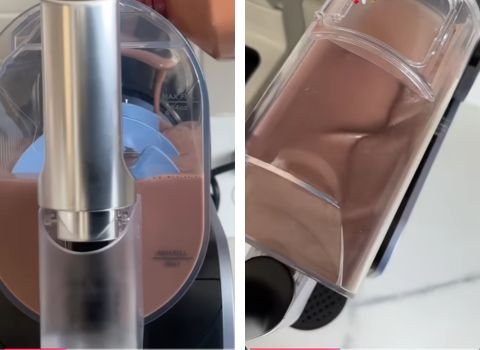
Slowly pour the chocolate mixture into the Ninja SLUSHi pitcher. Pour carefully to avoid spills and keep the outside of the pitcher clean.
Step 4 | Select the Program
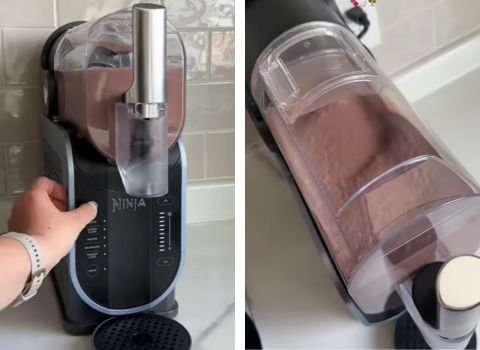
Place the pitcher on the machine base and turn it on. Select the Milkshake preset on your Ninja SLUSHi model. The machine will begin mixing and freezing the mixture.
Step 5 | Let It Freeze
Allow the Ninja SLUSHi to run until the chocolate mixture reaches a thick and creamy consistency.
This usually takes about 15 minutes, though the exact time may vary by machine and recipe. The machine will let you know when it’s ready.
Step 6 | Serve Right Away
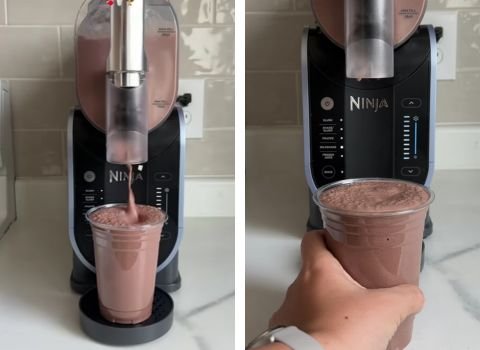
Once the cycle is complete, scoop or pour the chocolate ice cream into serving bowls or glasses.
Top with whipped cream, chocolate shavings, or sprinkles if you like, and enjoy immediately for the creamiest texture.
My Best Tips for Perfect Ninja SLUSHi Chocolate Ice Cream
- Balance the Sweetness – Taste the chocolate mixture before freezing. Add 1 extra tablespoon of sugar or chocolate syrup if you want a sweeter dessert.
- Keep the Mix Smooth – Make sure the sugar and cocoa powder dissolve completely before adding the mixture to the Ninja SLUSHi machine. This helps prevent a grainy texture.
- Add Coffee for More Chocolate Flavor – Stir in 1 teaspoon of instant espresso powder to make the chocolate taste richer. It adds depth without making the dessert taste like coffee.
- Use Small Toppings – Choose toppings that are easy to enjoy with every spoonful. Mini chocolate chips, sprinkles, and fine chocolate shavings work best.
Recipe Variations to Try
- Dairy-Free Chocolate Ice Cream: Swap the whole milk for 2 cups of oat milk and the heavy cream for 1 cup of full-fat coconut milk. Keep the vanilla, sugar, chocolate syrup, and cocoa powder the same, then run the mixture through the same steps.
- Vegan Chocolate Ice Cream: Use 2 cups of almond milk and 1 cup of coconut cream in place of dairy. Swap the sugar for 2 tablespoons of maple syrup and check that your chocolate syrup is plant-based before mixing and freezing as usual.
- Low-Sugar Chocolate Ice Cream: Cut the granulated sugar down to 1 tablespoon and use a sugar-free chocolate syrup instead of the regular kind. Keep the milk, cream, vanilla, and cocoa powder the same for a lighter, less sweet result.
- High-Protein Chocolate Ice Cream: Add 1 scoop of chocolate protein powder to the mix and reduce the milk to 1 1/2 cups to keep the texture balanced. Whisk well before pouring the mixture into the machine to avoid clumps.
How Do You Serve Ninja SLUSHi Chocolate Ice Cream
A tall, chilled glass works best for holding this creamy chocolate ice cream while keeping it cold longer during serving. Here are a few simple serving ideas to try at home.
- Classic Cup or Bowl: Scoop the ice cream into a small bowl or cup and add your favorite toppings for a simple, classic dessert.
- Tall Glass with Toppings: Pour the mixture into a tall glass and layer whipped cream, chocolate shavings, and sprinkles on top for extra flair.
- Cone Style: Scoop the finished ice cream into a waffle or sugar cone for a fun, portable way to enjoy this treat.
- Sundae Style: Add scoops into a bowl with chocolate syrup, nuts, and a cherry on top for a sundae-style dessert.
What Desserts Pair Well with Chocolate Ice Cream
Chocolate ice cream pairs well with many sweet treats. The cold, creamy texture works nicely with warm desserts, fresh fruit, and crunchy toppings.
- Warm brownies are a classic choice. The cold ice cream melts over the warm, fudgy brownie and creates a tasty mix of hot and cold.
- Fresh strawberries or raspberries add a light, tart flavor. They help balance the sweetness of the chocolate ice cream.
- Cookies are another easy choice. Chocolate chip cookies and sugar cookies taste great on the side or crumbled on top for extra crunch.
- Waffles and pancakes also pair well with chocolate ice cream. Add a scoop on top for a simple dessert that feels extra special.
- Caramel sauce, crushed pretzels, and chopped nuts are great toppings, too. Each one adds a new texture and pairs well with the smooth chocolate flavor.
Storage & Make-Ahead Guide
The chocolate mixture can be prepared up to 1 day ahead. Whisk the milk, cream, vanilla, sugar, chocolate syrup, and cocoa powder together. Cover and keep the mixture in the fridge until ready to use.
The Ninja SLUSHi has a Keep Cold setting that helps maintain the temperature during active use for up to 6 hours.
For leftovers, transfer the ice cream to an airtight, freezer-safe container. Store it in the freezer for up to 2 weeks for the best flavor and texture. Let frozen leftovers sit at room temperature for a few minutes before serving.
For a softer texture, place the mixture back in the Ninja SLUSHi and process it briefly until smooth and creamy again.
Ninja Slushi Chocolate Ice Cream Recipe FAQs
1. Can I use less sugar?
Yes. You can reduce the sugar to 1 tablespoon for a less sweet dessert. Keep in mind that sugar also affects texture, so a large reduction may make the frozen mixture firmer.
2. Do I need to chill the mixture before using?
Chilling the mix before using is a good idea. Cold ingredients help the machine freeze faster. You can put the mix in the fridge for 30 minutes before starting. This gives you even better results.
3. Can I make this recipe sugar-free?
Yes, you can use sugar-free chocolate syrup and a sugar substitute like stevia. Use 2 tablespoons of your chosen sweetener instead of sugar. The taste will be less sweet but still good. Check the sweetness before freezing.
Ninja SLUSHi Chocolate Ice Cream Recipe
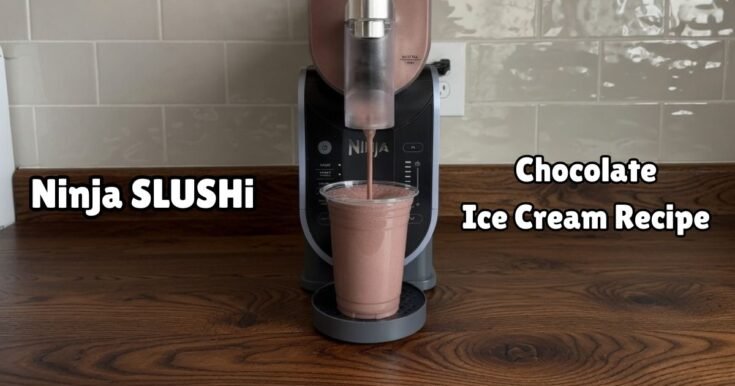
Try this Ninja SLUSHi Chocolate Ice Cream Recipe for a smooth, creamy homemade dessert with rich chocolate flavour, simple ingredients, and easy steps.
Ingredients
- 2 cups whole milk
- 1 cup heavy cream
- 1 teaspoon vanilla extract
- 2 tablespoons granulated sugar
- ¼ cup chocolate syrup
- 2 tablespoons unsweetened cocoa powder
Optional Toppings
- Whipped cream
- Chocolate shavings
- Chocolate sprinkles
- Mini chocolate chips
- Chopped nuts
- Maraschino cherries
Instructions
- Measure 2 cups of whole milk, 1 cup of heavy cream, 1 teaspoon of vanilla extract, 2 tablespoons of granulated sugar, ¼ cup of chocolate syrup, and 2 tablespoons of cocoa powder. Having everything ready makes the next steps quick and easy.
- Add the whole milk, heavy cream, vanilla extract, sugar, chocolate syrup, and cocoa powder to a large mixing bowl. Whisk until the sugar and cocoa powder dissolve completely. The mixture should be smooth with no lumps.
- Slowly pour the chocolate mixture into the Ninja SLUSHi pitcher. Pour carefully to avoid spills and keep the outside of the pitcher clean.
- Place the pitcher on the machine base and turn it on. Select the Milkshake preset on your Ninja SLUSHi model. The machine will begin mixing and freezing the mixture.
- Allow the Ninja SLUSHi to run until the chocolate mixture reaches a thick and creamy consistency. This usually takes about 15 minutes, though the exact time may vary by machine and recipe. The machine will let you know when it's ready.
- Once the cycle is complete, scoop or pour the chocolate ice cream into serving bowls or glasses. Top with whipped cream, chocolate shavings, or sprinkles if you like, and enjoy immediately for the creamiest texture.
Nutrition Information
Serving Size (Per Serving)Amount Per ServingCalories 340Total Fat 24gSaturated Fat 15gUnsaturated Fat 7gCholesterol 85mgSodium 65mgCarbohydrates 29gFiber 2gSugar 25gProtein 5g
This Ninja Slushi Chocolate Ice Cream Recipe is simple, creamy, and easy to prepare.
Try it today, then explore more Ninja SLUSHi recipes for easy frozen treats.