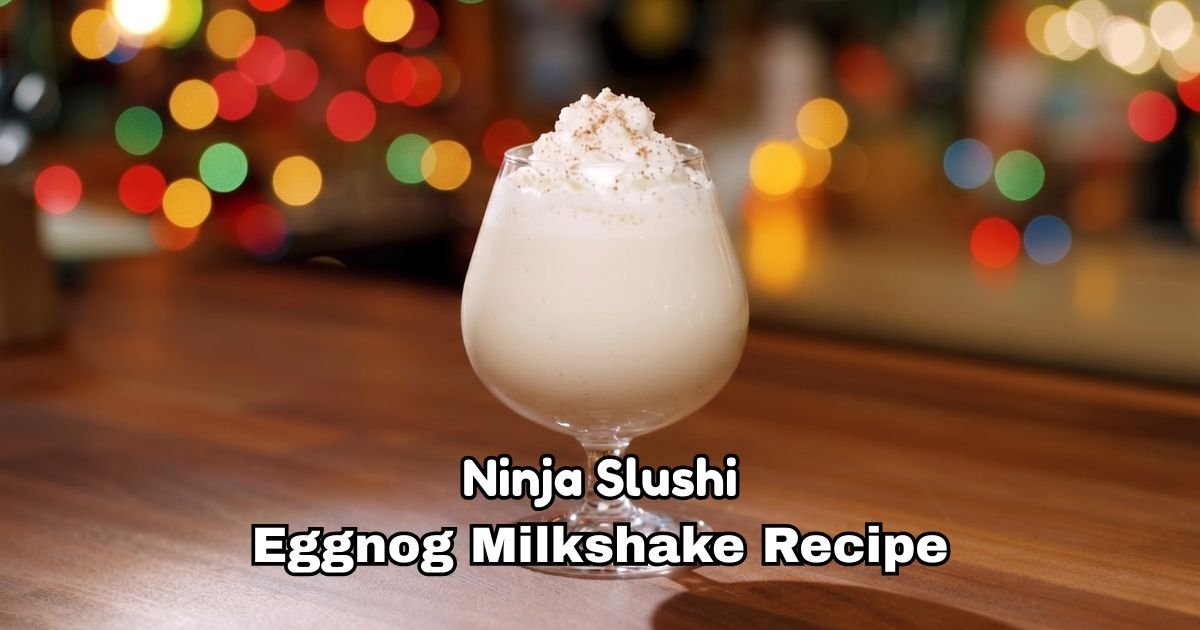
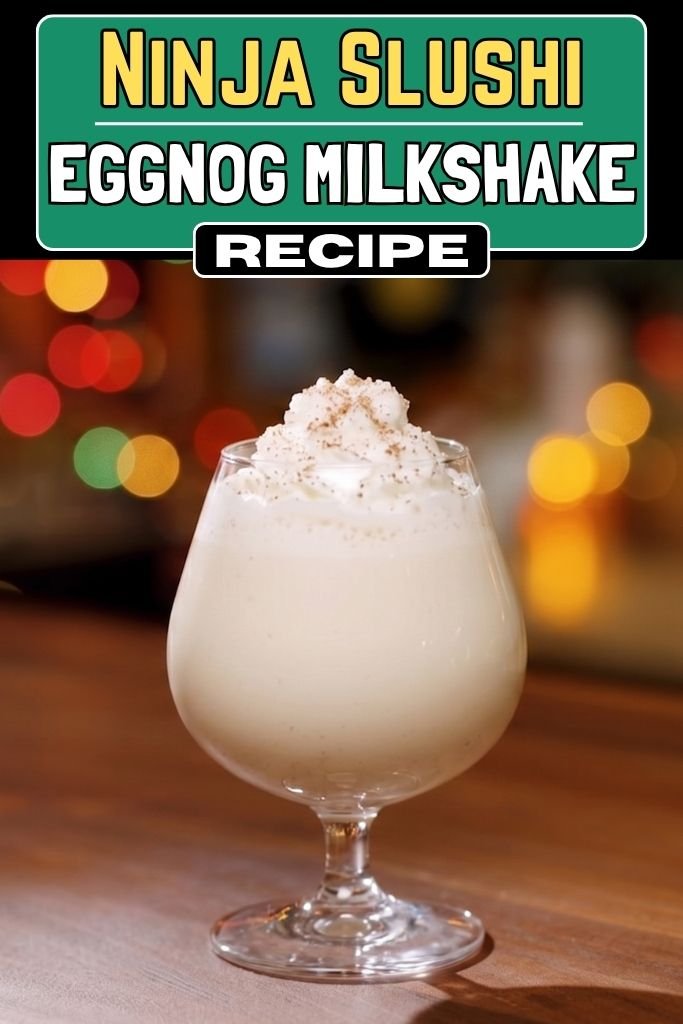
Ninja Slushi Eggnog Milkshake Recipe
Cold eggnog milkshakes can feel hard to copy at home. Most blenders do not keep the drink thick and smooth like café drinks. The texture often melts fast or turns icy instead of creamy.
That changed when I started using my Ninja Slushi machine. This Ninja Slushi Eggnog Milkshake gave me the thick and frozen texture I wanted without using expensive tools or hard steps.
The machine keeps the drink cold while blending everything into a smooth milkshake texture that tastes great in every sip.
This Ninja Slushi Eggnog Milkshake Recipe uses simple ingredients to create a creamy frozen drink that comes out perfectly thick every single time.
No watery results, no frustration. Just pour in your eggnog, add a bit of water to adjust the texture, and let the machine do all the work for a few minutes.
The result is a rich frozen drink that works perfectly as an easy homemade holiday treat.
What Is the Best Eggnog to Use for Best Milkshake
For this Ninja Slushi Eggnog Milkshake Recipe, I tried three popular eggnog brands to see which one blended best. Trader Joe’s Eggnog gave me the smoothest mix with balanced spice flavor.
Southern Comfort Eggnog tasted richer and created a thicker frozen drink. Turkey Hill Eggnog worked well too, but the final milkshake turned out lighter and less creamy.
I suggest skipping thin or low-fat eggnog because it melts fast and can water down the drink. Full-fat eggnog gives the best frozen consistency and helps the milkshake stay thick, cold, and smooth longer.
Ninja Slushi Eggnog Milkshake Ingredients
- Eggnog – 20 ounces: Full-fat eggnog freezes better inside the Ninja Slushi machine. You can also use dairy-free eggnog in the same amount. If you want to skip the eggnog, try a mix of heavy cream, milk, vanilla, and a little nutmeg for a similar flavor.
- Cold Water – 5 ounces: Water helps balance the richness and keeps the machine running smoothly. Too little water creates a thick mix that freezes unevenly. For a creamier texture, swap the water with cold milk.
- Vanilla Ice Cream – 2 cups: Vanilla ice cream thickens the drink and creates a smooth milkshake texture. French vanilla gives deeper flavor. Cinnamon ice cream or dairy-free vanilla frozen dessert both work nicely here.
- Vanilla Extract – 1 teaspoon: Vanilla extract boosts the sweet custard flavor of the eggnog and helps round out the spices. Pure vanilla extract gives the best flavor, but imitation vanilla also works.
- Ground Nutmeg – ¼ teaspoon: Nutmeg adds warm spice flavor and boosts the holiday taste. Fresh nutmeg gives stronger flavor. Pumpkin pie spice is another good option with the same measurement.
- Ground Cinnamon – ¼ teaspoon: Cinnamon adds warmth and sweetness without extra sugar. It blends well with eggnog flavor. Apple pie spice gives a slightly different holiday flavor if you want a change.
- Salt – A pinch: A small pinch of salt balances the sweetness.
- Dark Rum – 1½ ounces (Optional): Dark rum adds deep flavor and warmth to the frozen drink. Spiced rum tastes great in this recipe too. Leave it out completely for a non-alcoholic version without changing the texture.
- Whipped Cream – For topping: Whipped cream adds a soft finish and extra richness. Canned or homemade both work well. Coconut whipped topping is a tasty dairy-free choice.
- Caramel Drizzle – 1 tablespoon: Caramel adds sweet flavor and gives the drink a café-style look. Salted caramel works especially well. You may use chocolate syrup instead for a different sweet finish.
Kitchen Tools
- Ninja Slushi Machine – main freezing unit
- Measuring cups – liquid accuracy
- Measuring spoons – spice control
- Mixing pitcher – pre-blend liquids
- Spatula – easy pouring
- Serving glasses – final presentation
- Ladle – smooth serving flow
How to Make Ninja Slushi Eggnog Milkshake
Step 1 | Mix Your Liquids
In a blender, add 20 oz of full-fat eggnog and 5 oz of cold water. If using rum, pour in 1½ oz now.
Add the vanilla extract, vanilla ice cream, nutmeg, cinnamon, and a pinch of salt. Blend everything until smooth and fully combined.
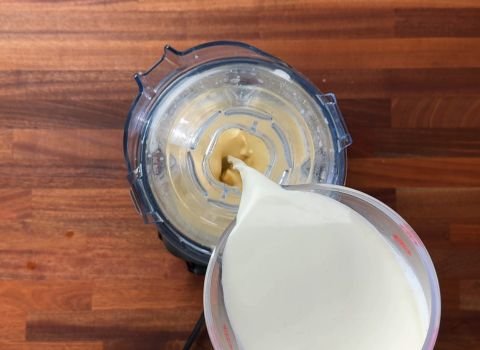
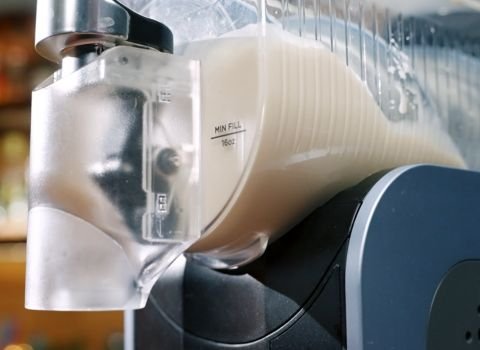
Step 2 | Pour Into the Ninja Slushi Vessel
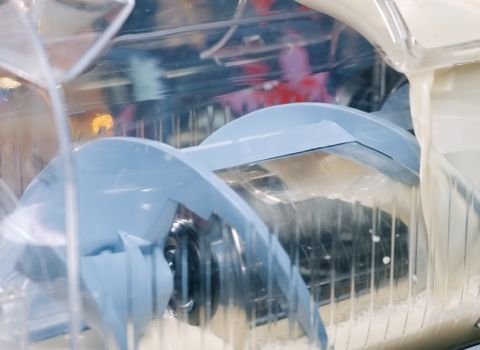
Carefully pour the mixture into the Ninja Slushi vessel. Make sure the auger is seated properly on the evaporator before you pour.
Step 3 | Select the Milkshake Setting
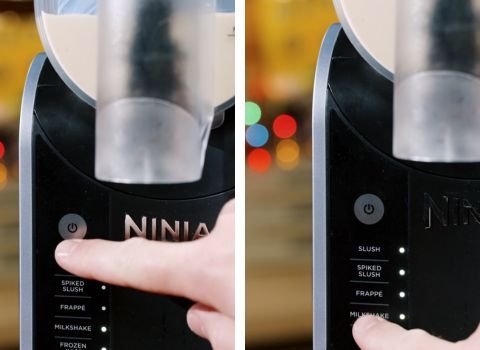
Lock the bail handle into place. Press the power button to turn on the machine. Select the milkshake setting on the control panel.
Step 4 | Let the Machine Run
Let the machine run its full cycle. This usually takes around 20–30 minutes depending on your starting liquid temperature.
Step 5 | Check the Texture
When the machine beeps, check the consistency. It should be thick and spoonable, like a soft-serve milkshake.
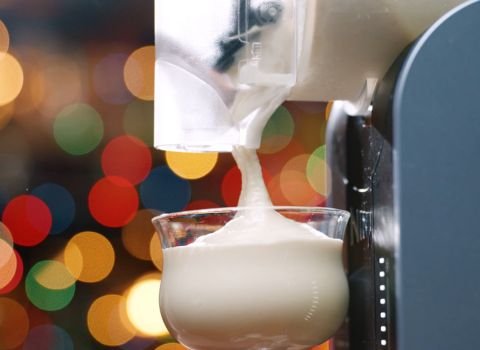
Step 6 | Dispense and Serve
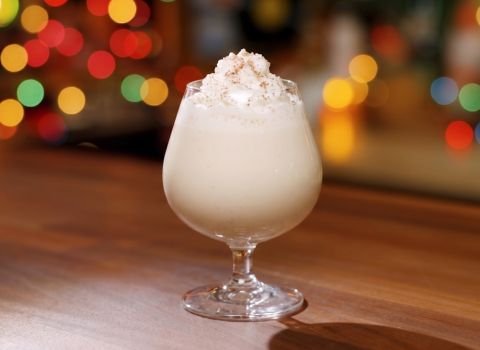
Press the dispense button and fill your chilled glass. The milkshake should come out thick and creamy. Top with whipped cream, a dusting of nutmeg, or a cinnamon stick. Serve right away.
Expert Tips
- Don’t rush the cycle: If the machine beeps too early and the texture is still loose, add a small splash of water (1–2 oz), restart, and wait for the second beep. Patience gives you a better texture.
- Use full-fat eggnog only: Low-fat or skim eggnog freezes too icy. Full-fat eggnog creates a smooth, milkshake-like consistency that makes this recipe work well.
- Chill your glass first: A cold glass keeps the milkshake from melting too fast. Place your serving glass in the freezer for 10 minutes before dispensing the drink.
Customization & Variations
Alcoholic Versions
- Classic Spiked Eggnog Milkshake – Add 1 1/2 ounces dark rum and 1/2 ounce bourbon to the base recipe for a better holiday drink. The rum adds a smooth flavor while the bourbon creates a deeper taste. This version stays creamy without overpowering the eggnog flavor. Mix everything well before pouring into the Ninja Slushi machine.
- Brandy Eggnog Slush – Replace the rum with 2 ounces brandy for a fruitier flavor. The brandy blends smoothly into the eggnog and creates a richer frozen drink. This version pairs especially well with Trader Joe’s Eggnog because the spices stay balanced. Keep the same water ratio for the best frozen consistency.
- Spiced Rum Version – Use 2 ounces spiced rum instead of dark rum for extra holiday spice flavor. Captain Morgan works especially well in this recipe. The added spices blend naturally into the eggnog, so extra nutmeg is not needed. The frozen texture stays thick, creamy, and smooth.
Non-Alcoholic Holiday Versions
- Vanilla Bean Eggnog Slush – Skip the rum completely and add 1 teaspoon vanilla bean paste with 1/4 teaspoon cinnamon. The vanilla creates a richer flavor while the cinnamon adds spice flavor.
- Caramel Eggnog Milkshake – Add 2 tablespoons caramel sauce before blending for a sweeter frozen drink. The caramel melts smoothly into the eggnog and creates a buttery flavor throughout the milkshake.
Dietary Alternatives
- Dairy-Free Version – Use 20 ounces oat milk eggnog or almond milk eggnog like Califia Farms Holiday Nog. Add 5 ounces cold water as usual. The texture comes out slightly lighter than regular eggnog, but the frozen drink still stays creamy, smooth, and easy to sip.
- Lower Sugar Version – Use reduced-sugar store-bought eggnog and add 1/2 teaspoon monk fruit sweetener for extra flavor without extra sugar. Keep the same water ratio because it helps the Ninja Slushi machine create the right frozen texture without turning the drink icy.
Serving Suggestions
I like serving this Ninja Slushi Eggnog Milkshake in chilled glasses with whipped cream and a sprinkle of cinnamon or nutmeg on top. It tastes great with Christmas cookies, gingerbread, cinnamon rolls, or desserts.
You can also drizzle caramel sauce inside the glass before pouring the milkshake for a café-style look.
Store Slush in the Machine
The Ninja Slushi maintains slush consistency while running for up to 12 hours, so leftovers stay ready to dispense.
Cleaning Process After Making Eggnog Milkshakes
Clean the Ninja Slushi machine fully after every use and before storing. Keep the unit running, press the rinse button, pour water inside, and dispense remaining frozen drink.
Add one or two soap drops when needed. Stop the rinse cycle, turn off the machine, remove all detachable parts, and wash them carefully.
Wipe the motor base and evaporator using a warm damp cloth. Allow every part to dry fully before reassembling the unit.
More Holiday Ninja Slushi Recipes You’ll Love
Ninja SLUSHi Mango Margarita Slush Recipe
Ninja Slushi Dole Whip Recipe
Ninja SLUSHi Margarita Slush Recipe
Ninja Slushi Eggnog Milkshake Recipe FAQs
1. Can regular blenders make this milkshake texture?
Regular blenders can blend the ingredients, but the texture usually turns thinner and melts faster. The Ninja Slushi machine freezes while mixing, which creates a thicker and smoother drink.
A normal blender also struggles to hold the frozen texture for long periods. Adding extra ice in a blender can water down the flavor and create icy chunks instead of a creamy milkshake consistency.
2. Why does the recipe need extra water?
Eggnog is naturally very rich and thick because it contains cream, milk, eggs, and sugar. The extra water helps balance the mixture and allows the Ninja Slushi machine to freeze everything evenly.
Without enough water, the machine may stop early or struggle to create the right frozen texture. The water also helps the drink stay smooth instead of becoming overly heavy and dense during freezing.
3. Is the Ninja Slushi loud?
It’s quiet, like a fan on low. Runs smooth in kitchen without bother. Great for holiday prep while chatting.
4. Does alcohol change the freezing texture?
Yes, alcohol slightly changes how the mixture freezes because alcohol lowers the freezing point. Too much alcohol can keep the milkshake from thickening properly inside the Ninja Slushi machine.
Small amounts like 2 ounces usually work well while still allowing the drink to freeze correctly.
Ninja Slushi Eggnog Milkshake Recipe

Ninja Slushi Eggnog Milkshake Recipe ready in 50 minutes with creamy eggnog, vanilla ice cream, and warm holiday spices for a thick frozen treat.
Ingredients
- 20 ounces full-fat eggnog
- 5 ounces cold water
- 2 cups vanilla ice cream
- 1 teaspoon vanilla extract
- ¼ teaspoon ground nutmeg
- ¼ teaspoon ground cinnamon
- 1 pinch salt
- 1½ ounces dark rum (optional)
- Whipped cream, for topping
- 1 tablespoon caramel drizzle
Instructions
- In a blender, add 20 oz of full-fat eggnog and 5 oz of cold water. If using rum, pour in 1½ oz now. Add the vanilla extract, vanilla ice cream, nutmeg, cinnamon, and a pinch of salt. Blend everything until smooth and fully combined.
- Carefully pour the mixture into the Ninja Slushi vessel. Make sure the auger is seated properly on the evaporator before you pour.
- Lock the bail handle into place. Press the power button to turn on the machine. Select the milkshake setting on the control panel.
- Let the machine run its full cycle. This usually takes around 20–30 minutes depending on your starting liquid temperature.
- When the machine beeps, check the consistency. It should be thick and spoonable, like a soft-serve milkshake.
- Press the dispense button and fill your chilled glass. The milkshake should come out thick and creamy. Top with whipped cream, a dusting of nutmeg, or a cinnamon stick. Serve right away.
Nutrition Information
Serving Size (Per Serving)Amount Per Serving Calories 420Total Fat 24gSaturated Fat 14gTrans Fat .5gUnsaturated Fat 8gCholesterol 105mgSodium 180mgCarbohydrates 38gFiber .5gSugar 32gProtein 7g
This Ninja Slushi Eggnog Milkshake Recipe creates a thick, creamy texture with rich holiday flavor in every sip. The simple ingredients and easy steps help create smooth results without stress.
Try different seasonal flavors, then share the recipe with others looking for a cold holiday dessert drink with rich texture and spice flavor.