
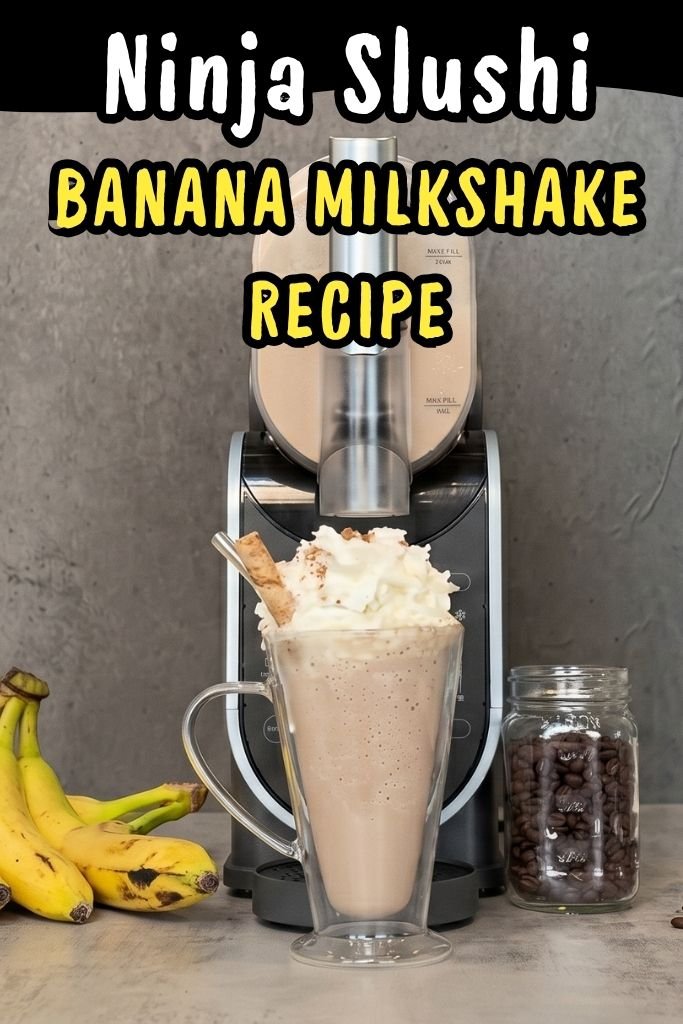
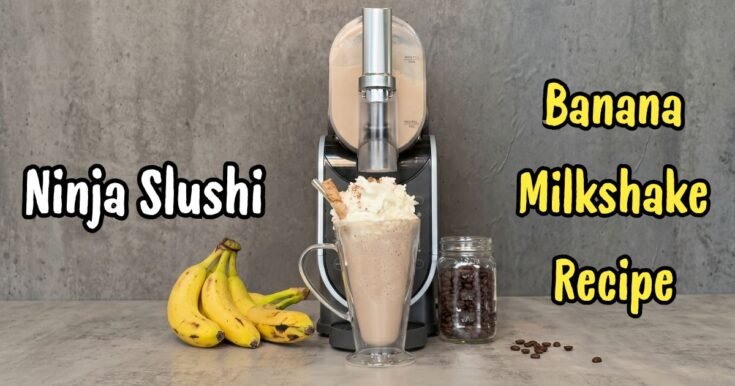
Ninja Slushi Banana Milkshake Recipe
Most homemade banana milkshakes turn out too thin, icy, or full of blender ice chunks. I used to spend money on coffee shop frozen drinks because regular blenders never gave me the thick and creamy texture I wanted.
Then I started making this homemade Ninja Slushi Banana Milkshake Recipe. The Ninja SLUSHi freezes the drink evenly without needing lots of ice, so the milkshake stays smooth, rich, and extra creamy.
This easy frozen drink has sweet banana flavor, creamy milk, and rich coffee in every sip. The whipped cream and cinnamon on top add a simple finishing touch.
I keep making this recipe because it tastes smooth, cold, and rich every single time without extra work.
What Ratio of Milk to Banana Gives the Best Consistency
The best ratio for this recipe is 1 cup of milk to 2 bananas. That balance gives you a thick, creamy shake without making it too thick.
For a lighter drink, try 1¼ cups of milk. For a stronger banana flavor and thicker texture, stick with 1 cup or even drop to ¾ cup.
The more milk you add, the thinner the milkshake gets. Less milk keeps it dense, smooth, and extra creamy.
Best Bananas for Milkshakes
Ripe bananas work best because they taste sweeter and blend more smoothly. Bananas with small brown spots add better flavor and creaminess than firm yellow bananas.
Overripe bananas can taste too strong and may change the texture. Frozen bananas help create a thicker milkshake without adding ice cubes. They also keep the slush colder for longer.
Fresh bananas blend faster and give a lighter texture, while frozen bananas make the drink richer and creamier.
Both work well in this recipe, but frozen ripe bananas usually give the smoothest milkshake texture inside the Ninja SLUSHi machine.
Ninja Slushi Banana Milkshake Recipe
- Bananas – 2 ripe bananas create the thick and creamy base. Frozen bananas make the slush colder and smoother. For a thicker milkshake texture, use 1½ cups frozen banana slices instead.
- Milk – 1 cup milk keeps the drink creamy and smooth. Whole milk gives the richest texture. Almond milk, oat milk, or coconut milk can be used in the same 1-cup amount.
- Coffee – 1 cup chilled coffee adds bold flavor and balances the banana sweetness. Cold brew works well too. If you want a milder flavor, swap it with decaf coffee or 1 cup chocolate milk.
- Whipped Cream – Whipped cream adds a soft and creamy topping. Store-bought or homemade both work well. A coconut whipped topping also works as a dairy-free option.
- Cinnamon Powder – A light sprinkle of cinnamon adds warm flavor and aroma. Try cocoa powder or pumpkin spice seasoning in small equal amounts for a different flavor twist.
- Chocolate Wafer – 1 chocolate wafer adds crunch and chocolate flavor on top. Crushed chocolate cookies, chocolate curls, or a small biscotti piece make great alternatives for garnish.
Essential Kitchen Tools
- Ninja SLUSHi Machine – freezes and blends smoothly
- Blender – smooth mixing option
- Measuring Cups – accurate liquid amounts
- Sharp Knife – slice bananas easily
- Cutting Board – safe fruit prep
- Serving Glass – holds thick slush
- Spoon or Straw – easier serving
- Small Sifter – sprinkle cinnamon evenly
How to Make Ninja Slushi Banana Milkshake
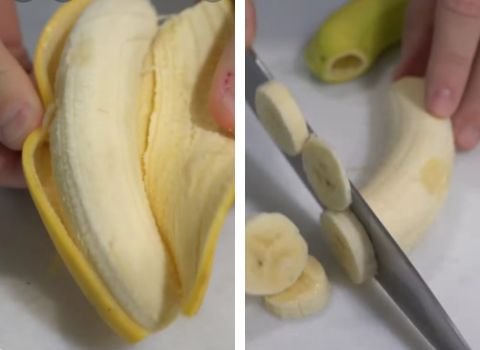
Step 1 | Prep Your Bananas
Peel 2 ripe bananas and break them into smaller chunks. Smaller pieces blend faster and give you a smoother, lump-free mixture.
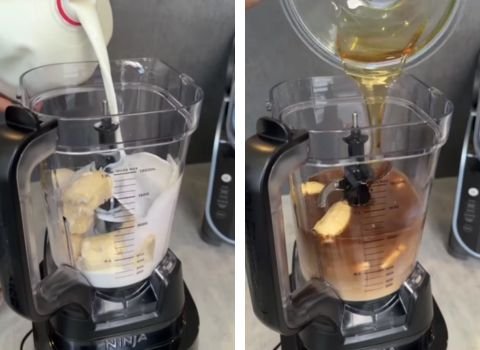
Step 2 | Blend Everything Together
Add the banana chunks, 1 cup of milk, and 1 cup of brewed coffee into a blender. Blend on high for 30–45 seconds until the mixture is completely smooth with no chunks left.
Step 3 | Pour Into the Ninja SLUSHi
Pour the blended mixture directly into the Ninja SLUSHi machine. Make sure you stay at or below the max fill line on your model.
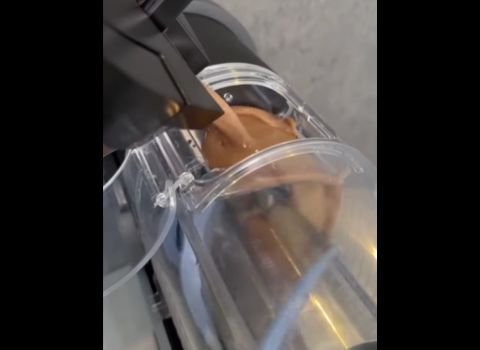
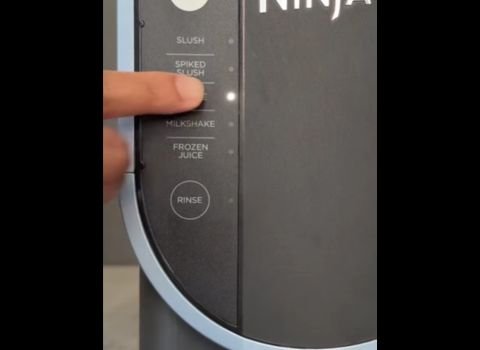
Step 4 | Select the SLUSH Option
Close the lid and press the SLUSH button. Let the machine run the full cycle. It will freeze and churn the blended mixture into a thick, creamy slush.
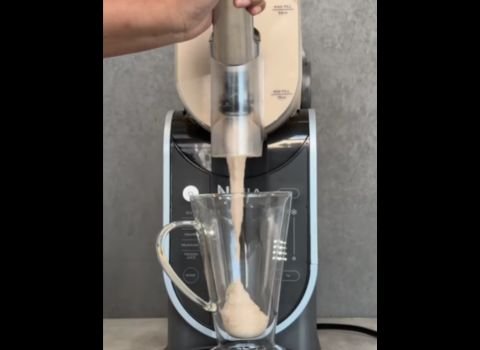
Step 5 | Pour Into a Glass
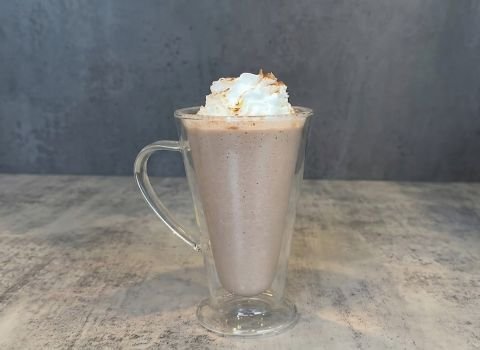
Once the cycle is done, pour the banana latte slush into a tall serving glass. Fill it close to the top.
Step 6 | Add Toppings
Spoon or pipe whipped cream on top. Sprinkle a small pinch of cinnamon powder over the cream. Place one chocolate wafer on the edge of the glass or press it into the whipped cream.
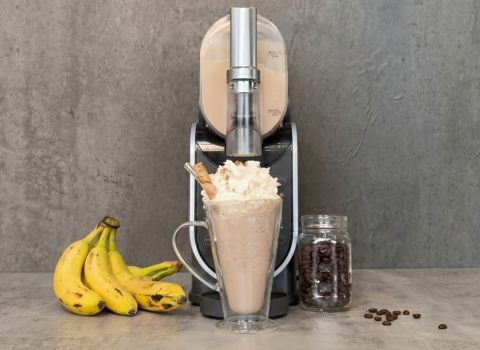
Step 7 | Serve Right Away
This milkshake is best served fresh while still cold and thick. Drink it before it starts to melt for the best texture and flavor.
Expert Tips for Thick & Creamy Milkshakes
- Keep Milk Cold – Chilled milk helps the Ninja SLUSHi freeze the drink evenly and smoothly.
- Use Strong Coffee – Strong coffee adds richer flavor without making the milkshake too sweet.
- Add Toppings Last – Whipped cream and cinnamon stay fresher when added before serving.
- Chill All Ingredients – Cold ingredients help the machine create smoother frozen texture faster.
Best Flavor Variations
- Chocolate Banana Milkshake – Add 2 tablespoons of chocolate syrup or 1 tablespoon of cocoa powder to the base recipe. Use 2 bananas, 1 cup chocolate milk, and 1 cup coffee for a rich mocha banana shake.
- Strawberry Banana Milkshake – Replace the coffee with ½ cup of strawberry puree and ½ cup of milk. Use 2 bananas and 1 cup of whole milk for a fresh, fruity twist on the classic shake.
- Tropical Banana Milkshake – Swap the coffee for ½ cup of pineapple juice and ½ cup of coconut milk. Use 2 bananas and top with shredded coconut and a pineapple slice for a vacation-inspired treat.
- Dairy-Free Banana Milkshake – Replace the whole milk with 1 cup of oat milk or coconut milk. Use dairy-free whipped topping and skip the chocolate wafer or swap it for a vegan cookie option.
- Low-Sugar Banana Milkshake – Use 1 very ripe banana instead of 2 to reduce natural sugars. Replace regular milk with 1 cup of unsweetened almond milk and 1 cup of black coffee with no added sweeteners.
Serving Ideas
This Ninja Slushi Banana Milkshake recipe tastes best right after blending. A tall chilled glass helps keep the slush frozen longer while you drink it. You can serve it with breakfast, an afternoon snack, or a light dessert after dinner.
You can add extra whipped cream, cinnamon, or crushed chocolate cookies on top for more flavor.
A reusable straw or long spoon makes the thick slush easier to drink.
For a richer version, you can pair the milkshake with chocolate waffles, banana bread, or soft cookies.
Ninja Slushi Banana Milkshake Recipe FAQs
1. Can coffee be removed from the recipe?
Yes. Coffee can be replaced with chocolate milk, cold milk, or even vanilla milk for a milder flavor. Removing coffee creates a sweeter banana milkshake that tastes more like a classic frozen dessert drink.
Cold ingredients still help the Ninja SLUSHi create a thick texture. Decaf coffee also works well for people wanting the flavor without caffeine. The texture stays creamy as long as the liquid measurements remain balanced.
2. Can this recipe be prepared ahead of time?
Yes, but fresh texture tastes best immediately after blending. The Ninja SLUSHi can keep the slush texture stable for several hours while running properly. Refrigerated leftovers may separate slightly and become thinner over time.
Frozen leftovers usually hold texture better. Re – blending with a splash of milk can help restore creaminess later. Storing longer than one day may reduce the smooth texture and fresh banana flavor.
3. Can extra sweetener be added?
Yes. Honey, maple syrup, brown sugar, or simple syrup can add more sweetness. Very ripe bananas already provide natural sugar, so many people skip extra sweeteners completely.
Start with 1 tablespoon sweetener first, then taste the mixture. Adding too much sweetener may slightly thin the frozen texture after blending.
Ninja Slushi Banana Milkshake Recipe
Ninja Slushi Banana Milkshake Recipe made with bananas, milk, and coffee for a thick creamy frozen drink ready in just 35 minutes.
Ingredients
- 2 ripe bananas, sliced
- 1 cup whole milk
- 1 cup chilled brewed coffee
- ½ cup whipped cream
- ¼ teaspoon cinnamon powder
- 1 chocolate wafer cookie
Instructions
- Peel 2 ripe bananas and break them into smaller chunks. Smaller pieces blend faster and give you a smoother, lump-free mixture.
- Add the banana chunks, 1 cup of milk, and 1 cup of brewed coffee into a blender. Blend on high for 30–45 seconds until the mixture is completely smooth with no chunks left.
- Pour the blended mixture directly into the Ninja SLUSHi machine. Make sure you stay at or below the max fill line on your model.
- Close the lid and press the SLUSH button. Let the machine run the full cycle. It will freeze and churn the blended mixture into a thick, creamy slush.
- Once the cycle is done, pour the banana latte slush into a tall serving glass. Fill it close to the top.
- Spoon or pipe whipped cream on top. Sprinkle a small pinch of cinnamon powder over the cream. Place one chocolate wafer on the edge of the glass or press it into the whipped cream.
- This milkshake is best served fresh while still cold and thick. Drink it before it starts to melt for the best texture and flavor.
Nutrition Information
Serving Size (Per Serving)Amount Per Serving Calories 285Total Fat 10gSaturated Fat 6gCholesterol 35mgSodium 95mgCarbohydrates 44gFiber 4gSugar 30g
This Ninja Slushi Banana Milkshake recipe creates a smooth, thick, and creamy frozen drink with simple ingredients. You can try different flavors, toppings, and milk options easily. The Ninja SLUSHi keeps the recipe beginner-friendly and easy to prepare.
Share your favorite flavor variation and topping combination in the comments.